 www.walmart.com
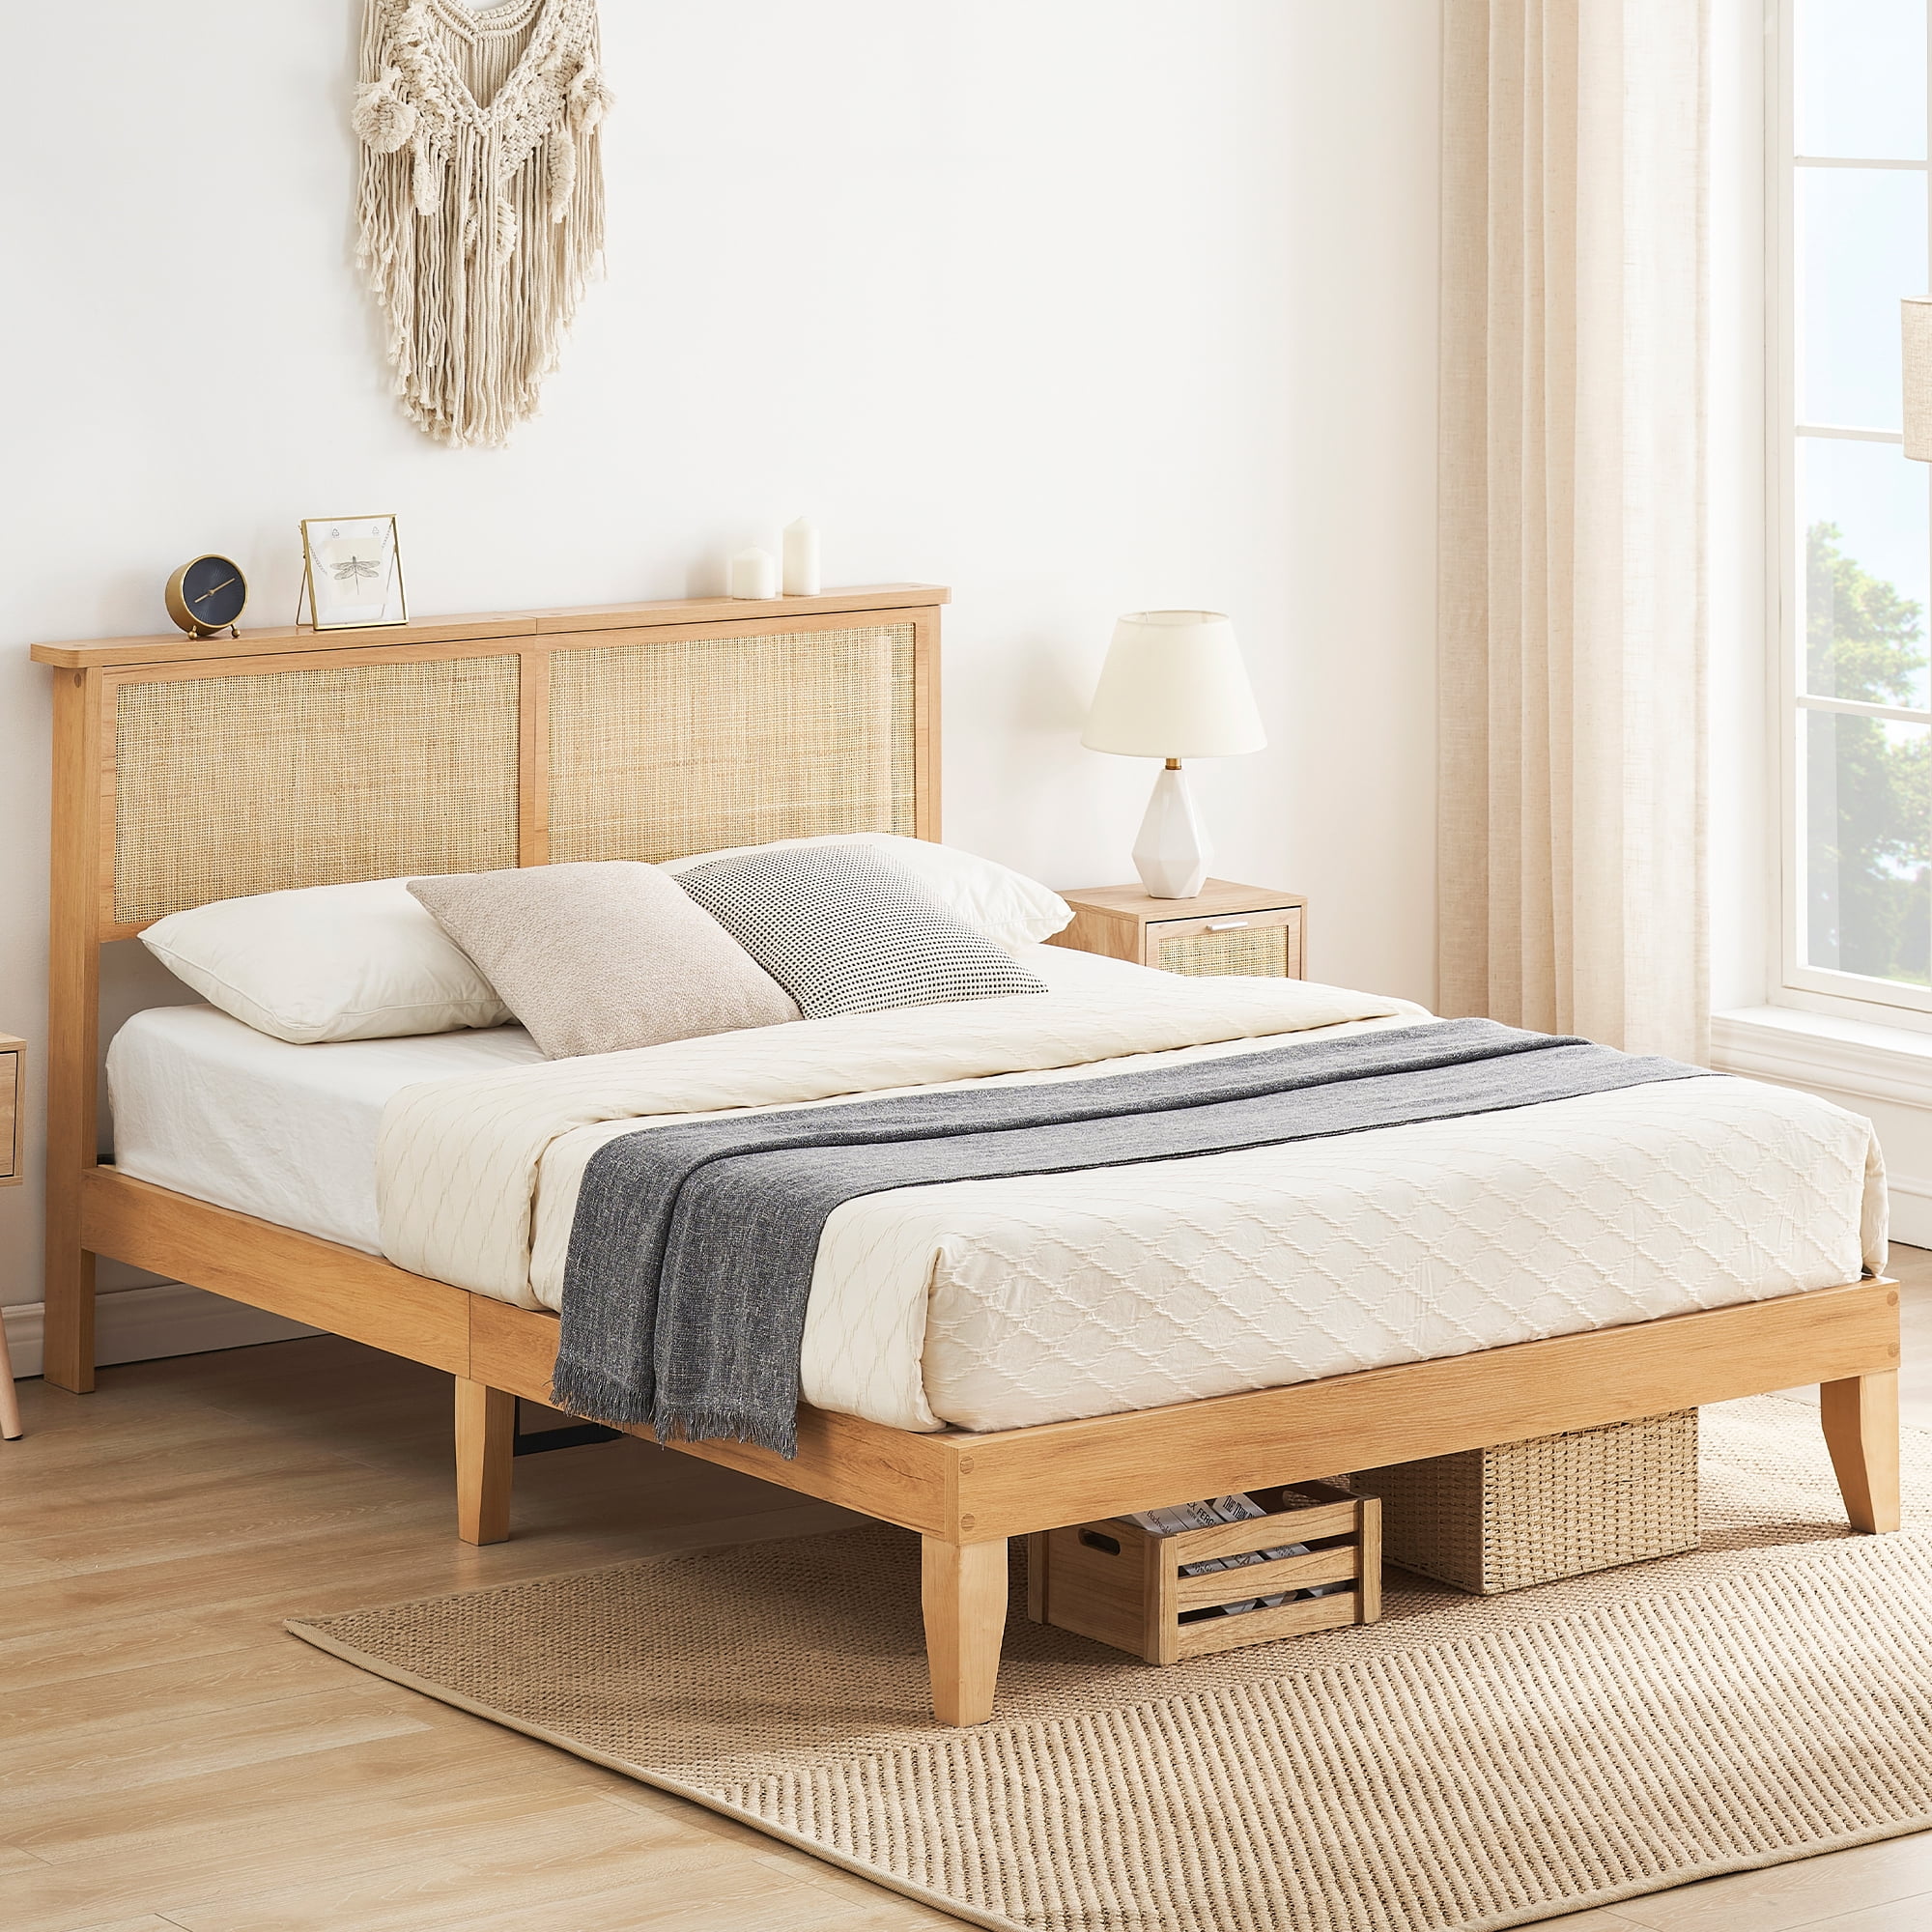
 Introduction: Building Your Own Platform Bed Frame Are you looking to upgrade your bedroom with a modern, minimalist bed frame? Building your own platform bed frame is a surprisingly simple and cost-effective DIY project. This guide will walk you through each step, from gathering materials to assembling the final product. We'll be focusing on a basic platform design that's easy to customize to your desired size and style.
Step 1: Planning and Design Before you head to the hardware store, carefully plan your bed frame's dimensions. Consider these factors: Mattress Size: Measure your mattress accurately. Standard sizes are: Twin (39" x 75"), Twin XL (39" x 80"), Full (54" x 75"), Queen (60" x 80"), King (76" x 80"), California King (72" x 84"). Desired Height: Decide how high you want the platform to sit off the floor. A common height is between 12-18 inches, but this is entirely up to your preference. Material Thickness: Account for the thickness of the lumber you'll be using. This will affect your overall measurements. Optional Features: Consider adding features like a headboard or built-in storage later. If so, factor in the necessary supports and dimensions. Once you have your dimensions, sketch a simple plan to visualize the frame. This will help you calculate the amount of lumber you need.
Step 2: Gathering Materials and Tools Here's a list of the materials and tools you'll likely need. Adjust the lumber amounts based on your chosen dimensions. Lumber: 4x4 posts (for legs) – Quantity: 4, Length: Based on desired height (e.g., 14 inches). 2x6 boards (for the frame's perimeter) – Quantity: 2, Length: Mattress width + 8 inches, Quantity: 2, Length: Mattress length + 8 inches 1x4 boards (for slats) – Quantity: As needed, Length: Mattress width. Usually, spaced every 3-4 inches apart. Fasteners: Wood screws (3-inch and 1 1/4-inch) Wood glue Tools: Measuring tape Pencil Saw (circular saw or hand saw) Drill with drill bits Screwdriver (or drill with screwdriver bits) Clamps Safety glasses Sandpaper Choose quality lumber to ensure the bed frame's stability and longevity.
Step 3: Cutting the Lumber Carefully measure and cut all the lumber according to your plan. Double-check your measurements before cutting to avoid mistakes. Cut the Legs: Cut the 4x4 posts to the desired height. Ensure they are all the same length for a level bed. Cut the Frame Boards: Cut the 2x6 boards to the calculated lengths for the perimeter of the frame. Cut the Slats: Cut the 1x4 boards to the correct width (mattress width). Calculate how many slats you need based on the desired spacing (e.g., every 3-4 inches). Sand all the cut edges to prevent splinters and create a smoother finish.
Step 4: Assembling the Frame Start by assembling the perimeter of the bed frame. Connect the Frame Boards: Apply wood glue to the ends of the 2x6 boards. Then, clamp the boards together to form a rectangle. Secure the corners with 3-inch wood screws. Drill pilot holes before screwing to prevent the wood from splitting. Attach the Legs: Position the 4x4 legs inside each corner of the frame. Apply wood glue to the contact points. Clamp the legs in place and secure them with 3-inch wood screws. Drill pilot holes first. Adding Support (Optional): For larger beds (Queen, King, California King), consider adding a center support beam to prevent sagging. A 2x4 running lengthwise down the center of the frame, supported by one or two extra legs, will provide added stability. Double-check that the frame is square and level before proceeding.
Step 5: Installing the Slats The slats provide support for your mattress. Position the Slats: Evenly space the 1x4 slats across the frame, perpendicular to the long sides. A common spacing is 3-4 inches between slats. Attach the Slats: Secure each slat to the frame using 1 1/4-inch wood screws. You can also use wood glue for added strength. Make sure the screws are flush with the surface of the slats to prevent them from damaging the mattress. Ensure all slats are securely attached and evenly spaced.
Step 6: Finishing Touches Once the frame is assembled, you can add finishing touches to enhance its appearance and durability. Sanding: Sand the entire frame to smooth any rough edges or imperfections. Painting or Staining (Optional): Apply a coat of paint or stain to protect the wood and match your bedroom decor. Allow the paint or stain to dry completely before using the bed. Sealing (Optional): Apply a sealant after staining or painting for extra protection.
Conclusion: Enjoy Your New DIY Platform Bed Frame Congratulations! You've successfully built your own platform bed frame. Place your mattress on top, and enjoy the comfort and style of your new creation. Building your own bed frame not only saves you money but also allows you to customize it to your exact preferences. Enjoy your newly built bed!
Homfa King Bed Frame, Modern Bed Frame With Wing-back Button Tufted Upholstered Headboard, Wood
 www.ex-tremes.com
 Ktenme Queen Bed Frame With Rattan Headboard, Platform Bed Frame Queen Size With Storage
 www.walmart.com
 Elevated Bed Frame
 ar.inspiredpencil.com