
 whitewoodandlinen.com ```html
 Introduction: Creating a DIY Hanging Coat Rack This post will guide you through building your own stylish and functional hanging coat rack. It's a great project for adding storage and personality to your entryway, hallway, or even bedroom. We'll cover everything from material selection to the final mounting, ensuring you create a coat rack that perfectly suits your needs and aesthetic.
Materials You'll Need:
- A solid piece of wood (pine, oak, or reclaimed wood work well size depends on desired length of the rack)
- Coat hooks (quantity depends on length of the wood and desired spacing)
- Wood screws (appropriate size for attaching the hooks)
- Wood glue (optional, for added security when attaching hooks)
- Sandpaper (various grits)
- Wood stain or paint (optional, for finishing)
- Polyurethane or varnish (optional, for sealing)
- Mounting hardware (D-rings or keyhole hangers and screws)
- Level
- Pencil
Tools Required:
- Measuring tape
- Drill with various drill bits
- Screwdriver (compatible with your wood screws)
- Sandpaper (various grits)
- Saw (if you need to cut the wood to size)
- Clamps (optional, for securing the wood while drilling/screwing)
- Safety glasses
- Dust mask
Step 1: Preparing the Wood Begin by cutting your wood to the desired length using a saw. Sand the wood thoroughly, starting with a coarser grit sandpaper (e.g., 80-grit) to remove any imperfections or rough spots. Gradually move to finer grits (e.g., 120-grit, then 220-grit) for a smooth finish. Wipe the wood clean with a tack cloth to remove all dust.
Step 2: Staining or Painting (Optional) If you want to stain or paint your coat rack, now is the time. Apply the stain or paint according to the manufacturer's instructions. Allow the stain or paint to dry completely before moving on. Consider applying multiple coats for a richer color or better coverage, sanding lightly between coats.
Step 3: Sealing (Optional) To protect the finish and add durability, apply a coat of polyurethane or varnish. Again, follow the manufacturer's instructions. Allow it to dry completely. You may want to apply multiple coats for added protection, lightly sanding between coats.
Step 4: Attaching the Hooks Measure and mark the locations for your coat hooks along the wood. Ensure the spacing is even and aesthetically pleasing. Predrill pilot holes at each marked location. This will prevent the wood from splitting when you drive in the screws. Apply a small amount of wood glue to the back of each hook (optional). Attach the hooks using the wood screws, tightening them securely but not overtightening to avoid stripping the screws or damaging the wood.
Step 5: Installing Mounting Hardware Attach the mounting hardware (D-rings or keyhole hangers) to the back of the coat rack. Position them evenly spaced near the top edge of the wood. Use screws that are appropriate for the thickness of the wood. Ensure the mounting hardware is securely attached and level.
Step 6: Mounting the Coat Rack Locate the studs in your wall where you want to mount the coat rack. Use a level to ensure the coat rack is straight. Mark the location of the mounting hardware on the wall. Drill pilot holes into the studs at the marked locations. Attach the coat rack to the wall using appropriate screws. If you cannot locate studs, use wall anchors to provide adequate support.
Conclusion: Enjoy Your New Coat Rack Congratulations! You've successfully built and installed your own DIY hanging coat rack. Now you can enjoy a clutter-free entryway and a stylish addition to your home decor. Customize your design with different types of wood, hooks, and finishes to create a truly unique piece.
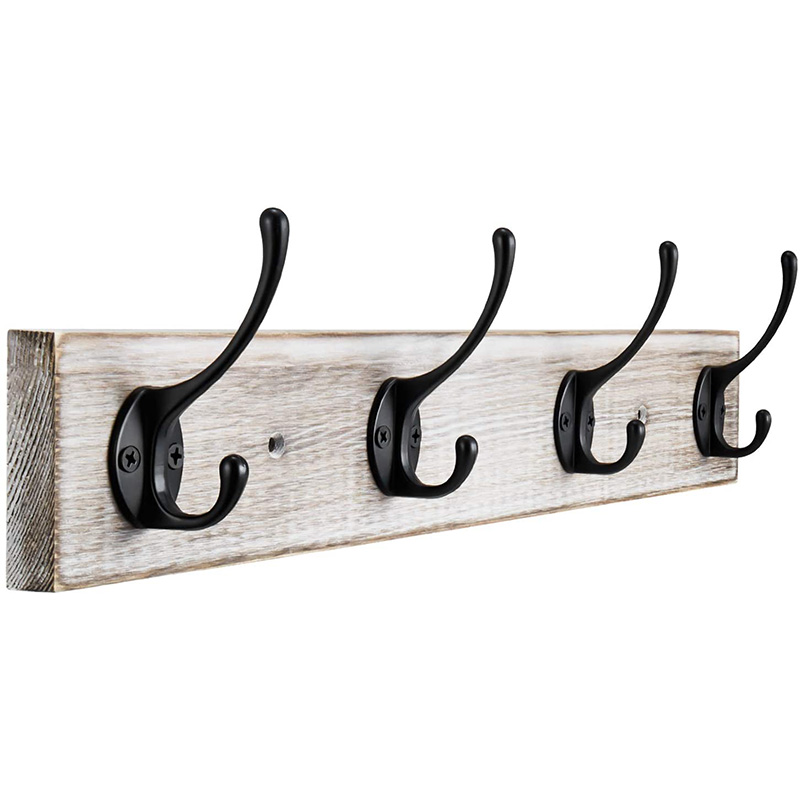
``` Coat Hooks, Cloth Hanging Hooks, Black Powder Coated, 4 Peice Pack, Single Type Coat Hanger
 racks.lk
 Decorative Coat Hooks
whitewoodandlinen.com 27 Stylish Coat Hooks You Can Hang Anywhere
 www.soulandlane.com


