
 www.walmart.com
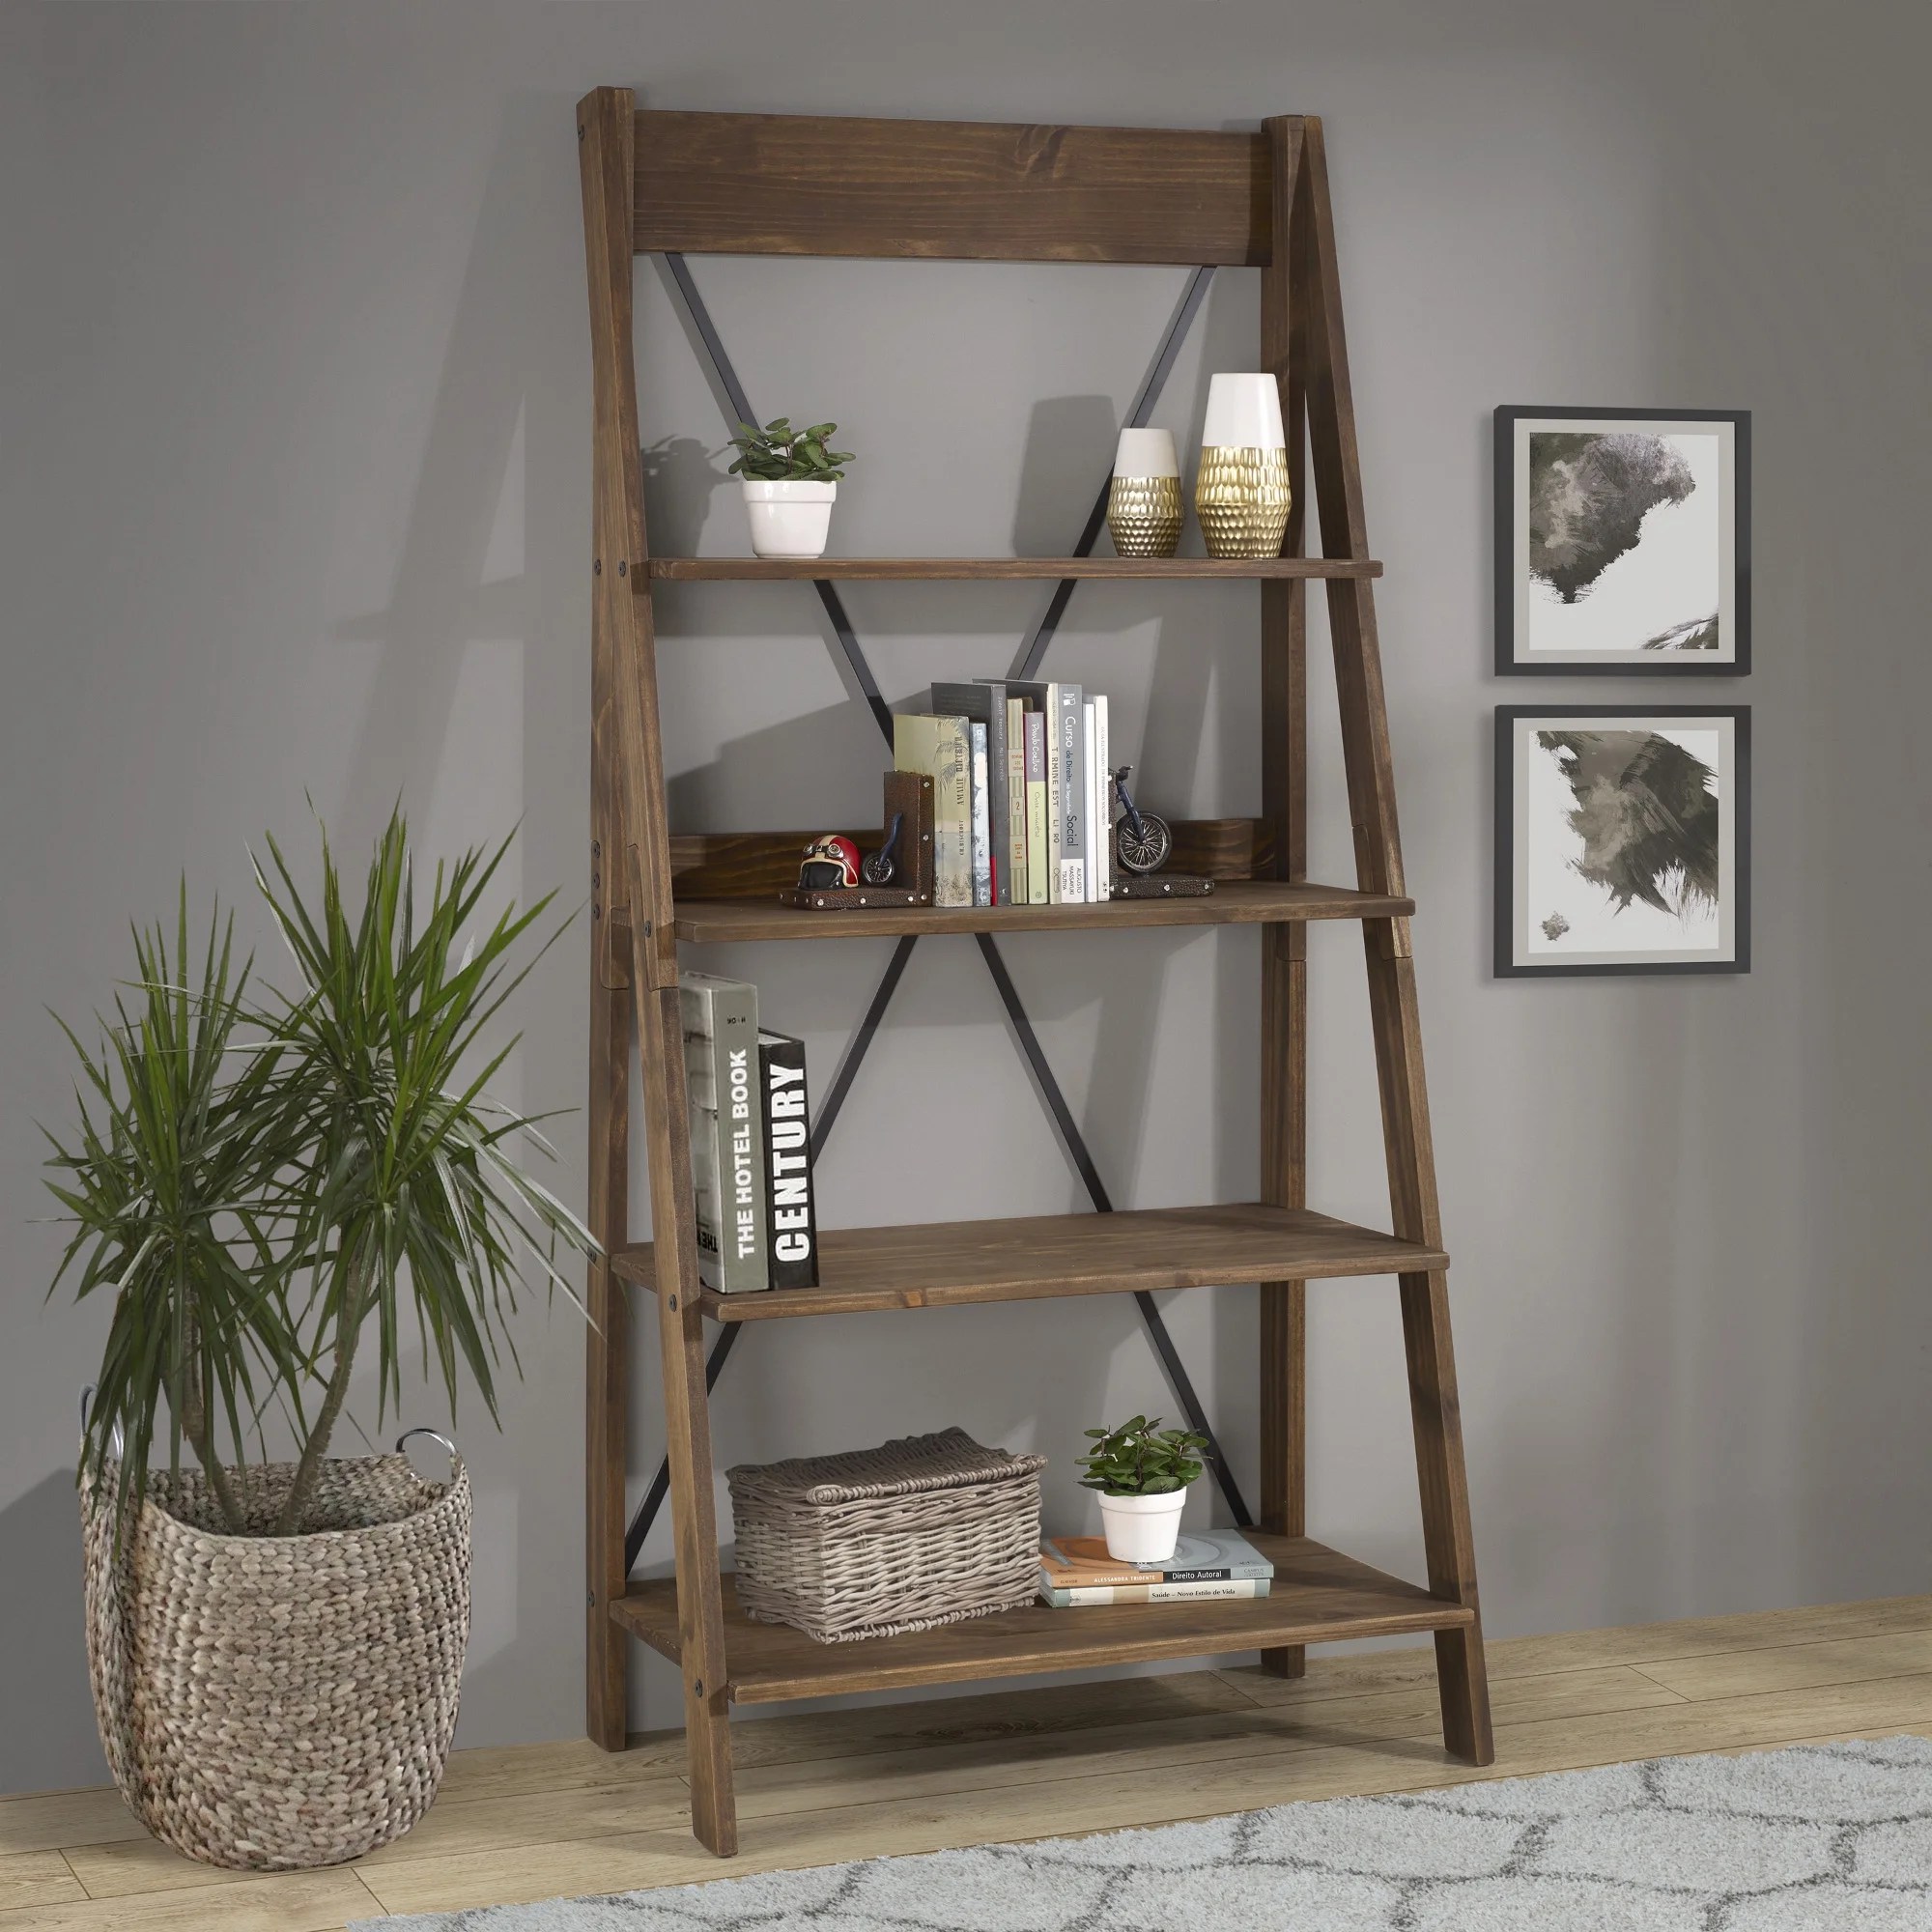
 Introduction: Building Your Own Ladder Shelf A ladder shelf is a stylish and functional addition to any home, providing storage and display space with a minimalist, leaning design. This guide will walk you through building your own ladder shelf from scratch, allowing you to customize it to your exact dimensions and style preferences. Get ready to unleash your inner DIY enthusiast!
Materials and Tools: Before we begin, gather your materials and tools. This is crucial for a smooth and efficient build.
- Wood: Choose your preferred wood type (pine, poplar, or even reclaimed wood) based on your budget and aesthetic. You'll need enough for the side rails and the shelves. Determine the length of the sides and width and depth of the shelves based on the design that you are going for.
- Fasteners: Wood screws (various lengths depending on the thickness of your wood).
- Wood Glue: For added strength in your joints.
- Sandpaper: Various grits (e.g., 80, 120, 220) for smoothing the wood.
- Wood Finish: Stain, paint, varnish, or polyurethane to protect and enhance the wood.
- Measuring Tape: For accurate measurements.
- Pencil: For marking cut lines.
- Saw: Circular saw, miter saw, or hand saw for cutting the wood.
- Drill: With drill bits for pilot holes and driving screws.
- Clamps: To hold pieces together while glue dries.
- Safety Glasses: Eye protection is essential.
- Ear Protection: Protect your hearing from power tool noise.
- Level: To ensure shelves are level.
Step 1: Cutting the Wood Begin by cutting all your wood pieces to the desired lengths. Side Rails: Cut two pieces of wood to the desired length for the side rails. Remember, these rails will lean against the wall, so the length will determine the overall height of the shelf. Consider a slight angle cut at the top of the rails for a more refined look. Shelves: Cut the shelves to your desired width and depth. The width will determine the overall width of the ladder shelf. Ensure all shelves are the same width for a uniform appearance.
Step 2: Sanding the Wood Smooth all the wood surfaces with sandpaper. Start with a coarser grit (e.g., 80) to remove any imperfections or rough edges. Progress to finer grits (e.g., 120, 220) for a smooth, finish-ready surface. Pay special attention to the edges and corners to avoid splinters.
Step 3: Assembling the Shelves Attach the shelves to the side rails. Determine Shelf Placement: Decide on the spacing between your shelves. Measure and mark the positions on the inside of the side rails. Pre-Drill Pilot Holes: Drill pilot holes through the side rails at the marked locations. This prevents the wood from splitting when you drive in the screws. Apply Wood Glue: Apply wood glue to the edges of the shelves where they will meet the side rails. Attach Shelves with Screws: Align the shelves with the side rails and drive screws through the pilot holes to secure them. Use clamps to hold the pieces together while the glue dries. Ensure shelves are square by using a speed square.
Step 4: Finishing the Ladder Shelf Apply your chosen wood finish. Stain (Optional): If desired, apply wood stain to enhance the wood's natural grain. Follow the stain manufacturer's instructions. Allow the stain to dry completely. Apply Finish: Apply varnish, polyurethane, or paint to protect the wood and provide a finished look. Apply multiple coats, allowing each coat to dry completely and sanding lightly between coats.
Step 5: Final Touches and Placement Once the finish is dry, your ladder shelf is ready to be placed. Lean Against Wall: Position the ladder shelf against a wall. Use a level to ensure it's leaning at the desired angle. You may want to consider attaching the top of the ladder to the wall using brackets for added safety, especially if you have young children or pets. Add Items: Arrange your books, plants, photos, or other decorative items on the shelves.
Conclusion: Enjoy Your DIY Ladder Shelf! Congratulations on building your own ladder shelf! You've created a unique and functional piece of furniture that adds style and storage to your home. Enjoy the satisfaction of knowing you built it yourself! Consider building more shelves in the future for different rooms of your house.
Lavish Home 5-tier Wooden Storage Bookcase
www.walmart.com Ladder Shelf With Bins At Elenora Spink Blog
 exoiwzsuc.blob.core.windows.net
 Manor Park Solid Wood 4-shelf Ladder Bookshelf
 www.walmart.com


